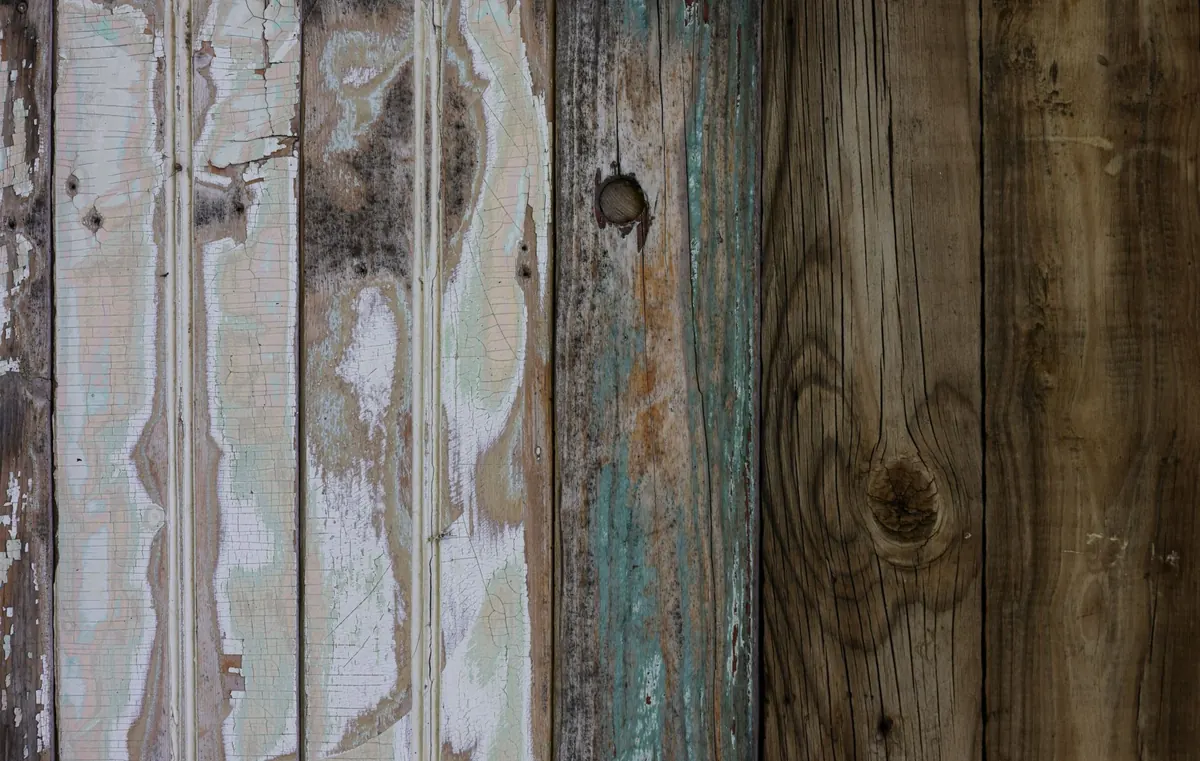
A coffee table is one of the few pieces of furniture you can build from scratch in a weekend and still have it look like it belongs in the room. The trick is starting with old wood. Reclaimed boards arrive with dents, nail holes and a patina that no stain can fake, so your finishing has less work to do and your small mistakes read as character. What follows is a build a beginner with a drill, a sander and a bit of patience can finish by Sunday evening.
The design is deliberately unfussy: a planked top, an apron frame, four legs. Nothing here needs a lathe, a router table or a workshop full of clamps.
Architectural salvage yards are the obvious first stop, but they are not the only one. Farm sales, demolition auctions, old fence panels, and floorboards lifted from a renovation all produce usable stock. Scaffolding planks are excellent for legs and aprons if you can find them dry.
Inspect before you commit. Pass on anything with soft, crumbly rot, active woodworm (freshly bored holes and fine dust), or a strong chemical smell. Pallet wood can work, but not all pallets are equal — some have been treated with preservatives you would rather not sand indoors, so stick to pieces marked as heat treated and avoid anything stained or unmarked if the table is going in a living room.
Once the boards are home, stack them indoors for three or four days before cutting. Wood that has lived outside is still moving, and a table built on the day you unload the truck will find new ways to twist.
A comfortable coffee table sits around 40–45cm high, roughly 110cm long and 55cm deep — close enough to a sofa to reach, far enough to walk past. Adjust to your room rather than to the numbers.
Lay the top boards on the floor and shuffle them. Flip boards end to end, swap the neighbours, and chase a grain pattern that reads as one surface. Decide which face is up and mark the underside of each board with a pencil number. That five minutes saves you an hour of squinting later.
Cut off split ends and any rot. Pull every nail and staple, then run a magnet over both faces — a nail head buried under 2mm of old paint will destroy a saw blade. If you find thick layers of old paint, particularly on furniture-era timber, treat it with caution; older paint can contain lead, and sanding it is the worst way to deal with it. If you are unsure, leave that board out.
Butt joints, glue and screws will hold this table for decades. Pre-drill every hole to stop old timber splitting, countersink the heads, and plug them with short dowels cut from matching wood. Sanded flush, the plugs disappear into the grain.
Work on a flat floor. If the top is not flat when the glue dries, no amount of screwing later will pull it straight.
The goal is smooth wood, not new wood. Sand with the grain through 80, 120, 180 and 220 grit, but ease off on the deep dents and dark marks — they are the reason you chose reclaimed boards. Wipe the surface with a damp cloth between the last two grits to raise the grain, then sand it back. Ease the sharp edges by hand so they feel worn, not cut.
Matte finishes forgive scratches and let the timber speak. Wipe-on polyurethane is the most forgiving option for a first build: thin coats, applied with a lint-free rag or foam brush, left to dry, then knocked back lightly with 320 grit between coats. Three coats is usually plenty.
Hardwax oil is the other route. It looks softer and more natural, smells better in a small room, and can be spot-repaired years later without stripping the whole top. It needs re-oiling once a year or so. Either way, follow the tin, work in a ventilated space, and let the finish cure fully — often several days — before anyone puts a hot mug on it.
Add felt pads under the legs and check the table for wobble before it goes in front of the sofa. Expect the wood to move slightly with the seasons; a hairline gap between planks in February is normal and usually closes again by summer. Matte finishes tolerate everyday use well, but coasters and a tray for keys will keep the top looking its best.
Your first reclaimed table will not be perfect, and it should not be. The boards will have a bit more twist than you planned for, one plug will sit slightly proud, and the finish will be a touch uneven in the corner you were rushing. All of it fades into the whole.
Build the second one and it will take a day instead of a weekend. Keep the offcuts, too — a leftover length of the same old board is the best possible material for a repair or a matching shelf later on. Start with a simple top, get the feel of the tools, and let the wood tell you what it wants to be.
Photo: Magda Ehlers / Pexels
Spot genuine antique cottage furniture by reading the wood, joinery, patina, hardware and price — and learn the...
Choose the right herbs, prep a box that drains properly, and a windowsill can supply fresh leaves all winter — even...

Two pantry-friendly methods — stovetop simmer pots and homemade linen sprays — fill a cottage with warm bakery...

Cozy cottage living, decorating, and inspiration.